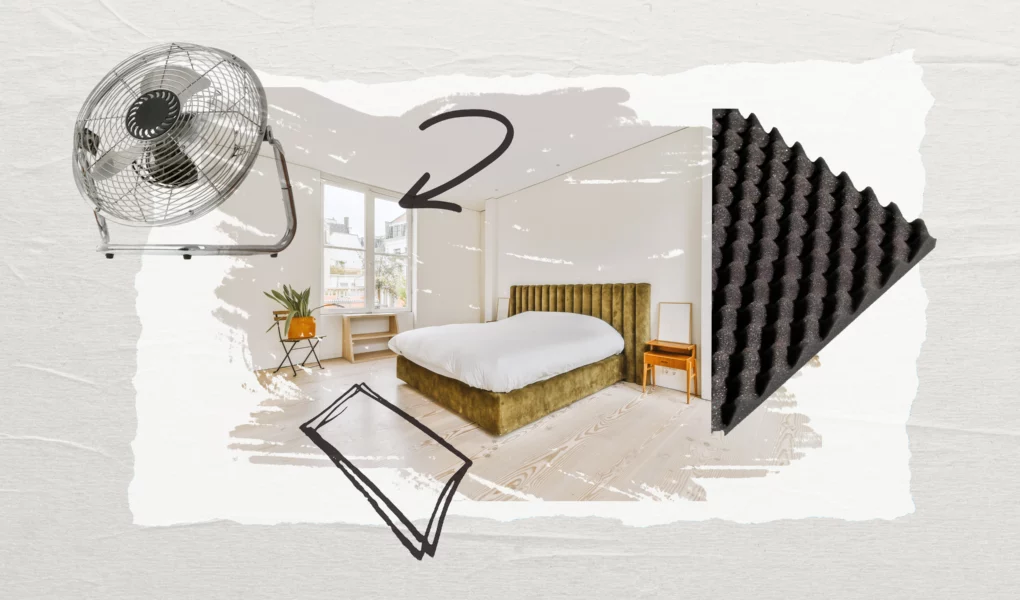
Acoustic foams are essential for creating a professional-grade sound environment in your home studio. They help to absorb sound waves, reduce echoes, and enhance the overall audio quality. However, maintaining these foams is important to ensure they perform at their best and last longer.
Choosing the Right Location for Your Foams
Before we get into cleaning and maintenance, it’s important to place your acoustic foams in the right spots. Avoid areas prone to dust and dirt, like near windows or vents. Proper placement not only improves effectiveness but also reduces the frequency of cleaning.
Regular Dusting to Keep Foams Clean
Dust can accumulate on acoustic foams over time, affecting their performance. Use a vacuum cleaner with a gentle brush or soft brush or attachment to remove dust from the surface. Make it a part of your weekly cleaning routine to keep your foams looking and functioning at their best.
Deep Cleaning Techniques for Stubborn Stains
Accidents happen—spills and stains can occur. For deep cleaning:
- Spot Clean: Use a damp cloth and mild soap to gently scrub the affected area. Avoid soaking the foam.
- Vacuum: For more stubborn dirt, use a handheld vacuum with a brush attachment.
- Compressed Air: For hard-to-reach areas, use compressed air to blow away dust and debris.
5. Maintaining the Shape and Longevity of the Foams
Over time, acoustic foam can lose its shape. To maintain its integrity:
- Avoid Direct Sunlight: UV rays can degrade the foam material.
- Rotate foams: Periodically rotate them to prevent uneven wear.
- Handle with Care: When moving or adjusting foams, be gentle to avoid tearing or compressing the foam.
Replacing Worn-Out foams
Even with meticulous care, acoustic foams can wear out over time. Signs of wear include loss of shape, reduced effectiveness in sound absorption, or visible damage. When you notice these signs, it’s time to replace the foams to maintain optimal acoustic performance.
Keep a few spare foams on hand to replace old ones promptly. Investing in high-quality foams can also extend the lifespan and ensure better durability over time. Regular inspection and timely replacement will help you sustain a professional sound environment in your home studio.
Additional Tips:
- Use covers: Consider using removable covers for extra protection against spills and stains.
- Replace when necessary: If you notice tears or significant wear and tear, it may be time to replace your foams.
- Be mindful of cleaning products: Avoid using harsh chemicals or abrasive cleaners on your acoustic foams, as they can damage the material.
- Check manufacturer’s instructions: Different types of acoustic foam may require specific cleaning and maintenance techniques, so always refer to the manufacturer’s instructions.
Following these tips and incorporating regular cleaning and maintenance into your routine ensures that your acoustic foams remain in top condition for optimal sound quality. Remember, a little effort goes a long way in prolonging the lifespan of your foams and preserving their effectiveness.
Conclusion
Keeping your acoustic foams clean and well-maintained ensures they continue to provide optimal sound absorption, enhancing your studio’s audio quality. Clean foams look better and contribute to a more professional and enjoyable recording environment. Regular upkeep is worth the effort for long-term benefits.
Remember to follow these maintenance tips to get the most out of your acoustic foams. Overall, proper care and maintenance are key to preserving the quality and functionality of your acoustic oams. By following these simple steps, you can ensure that your foams remain in top condition for years to come, providing you with the best sound experience possible.
